> ## Documentation Index
> Fetch the complete documentation index at: https://docs.taginsight.com/llms.txt
> Use this file to discover all available pages before exploring further.
# Creating tracking plans
> Learn how to create and manage tracking plans in Tag Insight
## Overview
A tracking plan is your source of truth for data collection. It defines what events should be tracked, which variables they contain, and what values are expected. Tag Insight makes creating and maintaining tracking plans simple and efficient.
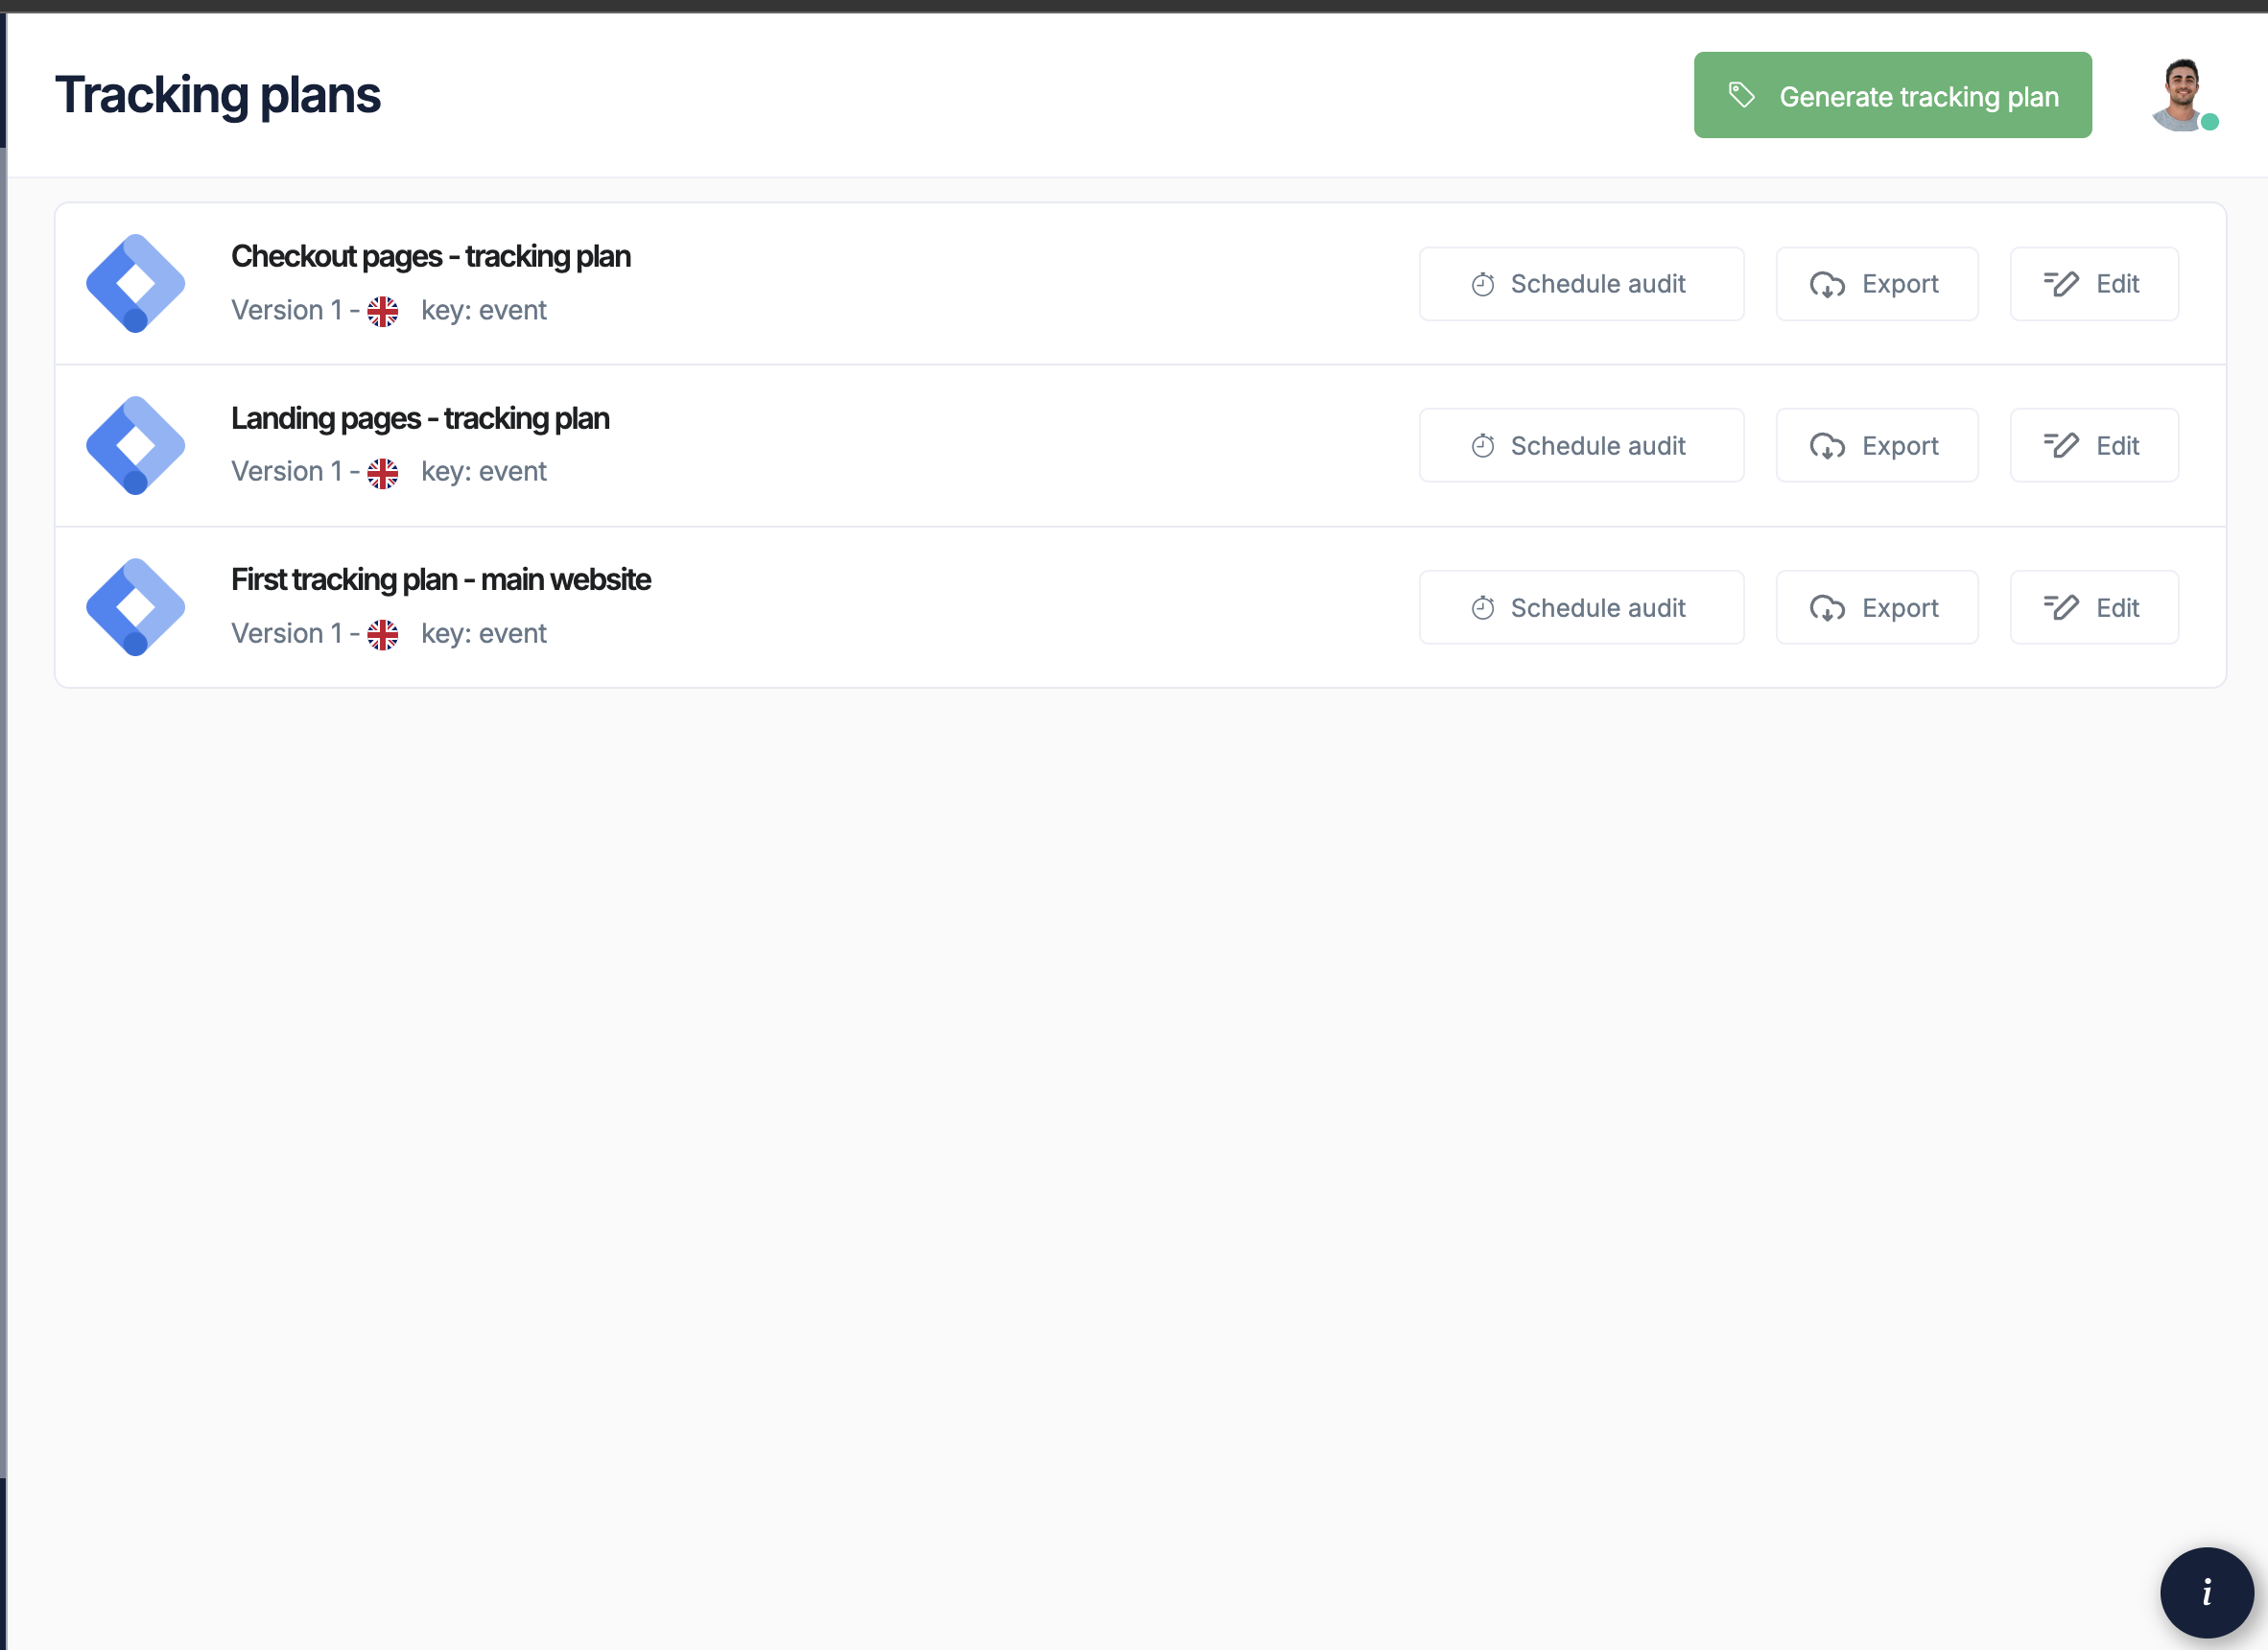 ## Creating your first tracking plan
From your project dashboard, click **Tracking Plans** in the navigation
Select **+ New Tracking Plan** to start the creation process
* **Name**: Give your tracking plan a descriptive name
* **Description**: Add details about its purpose
* **Template**: Choose a starting template or start from scratch
Begin adding events that you want to track
## Understanding events
Events represent user interactions or system occurrences that you want to track.
## Creating your first tracking plan
From your project dashboard, click **Tracking Plans** in the navigation
Select **+ New Tracking Plan** to start the creation process
* **Name**: Give your tracking plan a descriptive name
* **Description**: Add details about its purpose
* **Template**: Choose a starting template or start from scratch
Begin adding events that you want to track
## Understanding events
Events represent user interactions or system occurrences that you want to track.
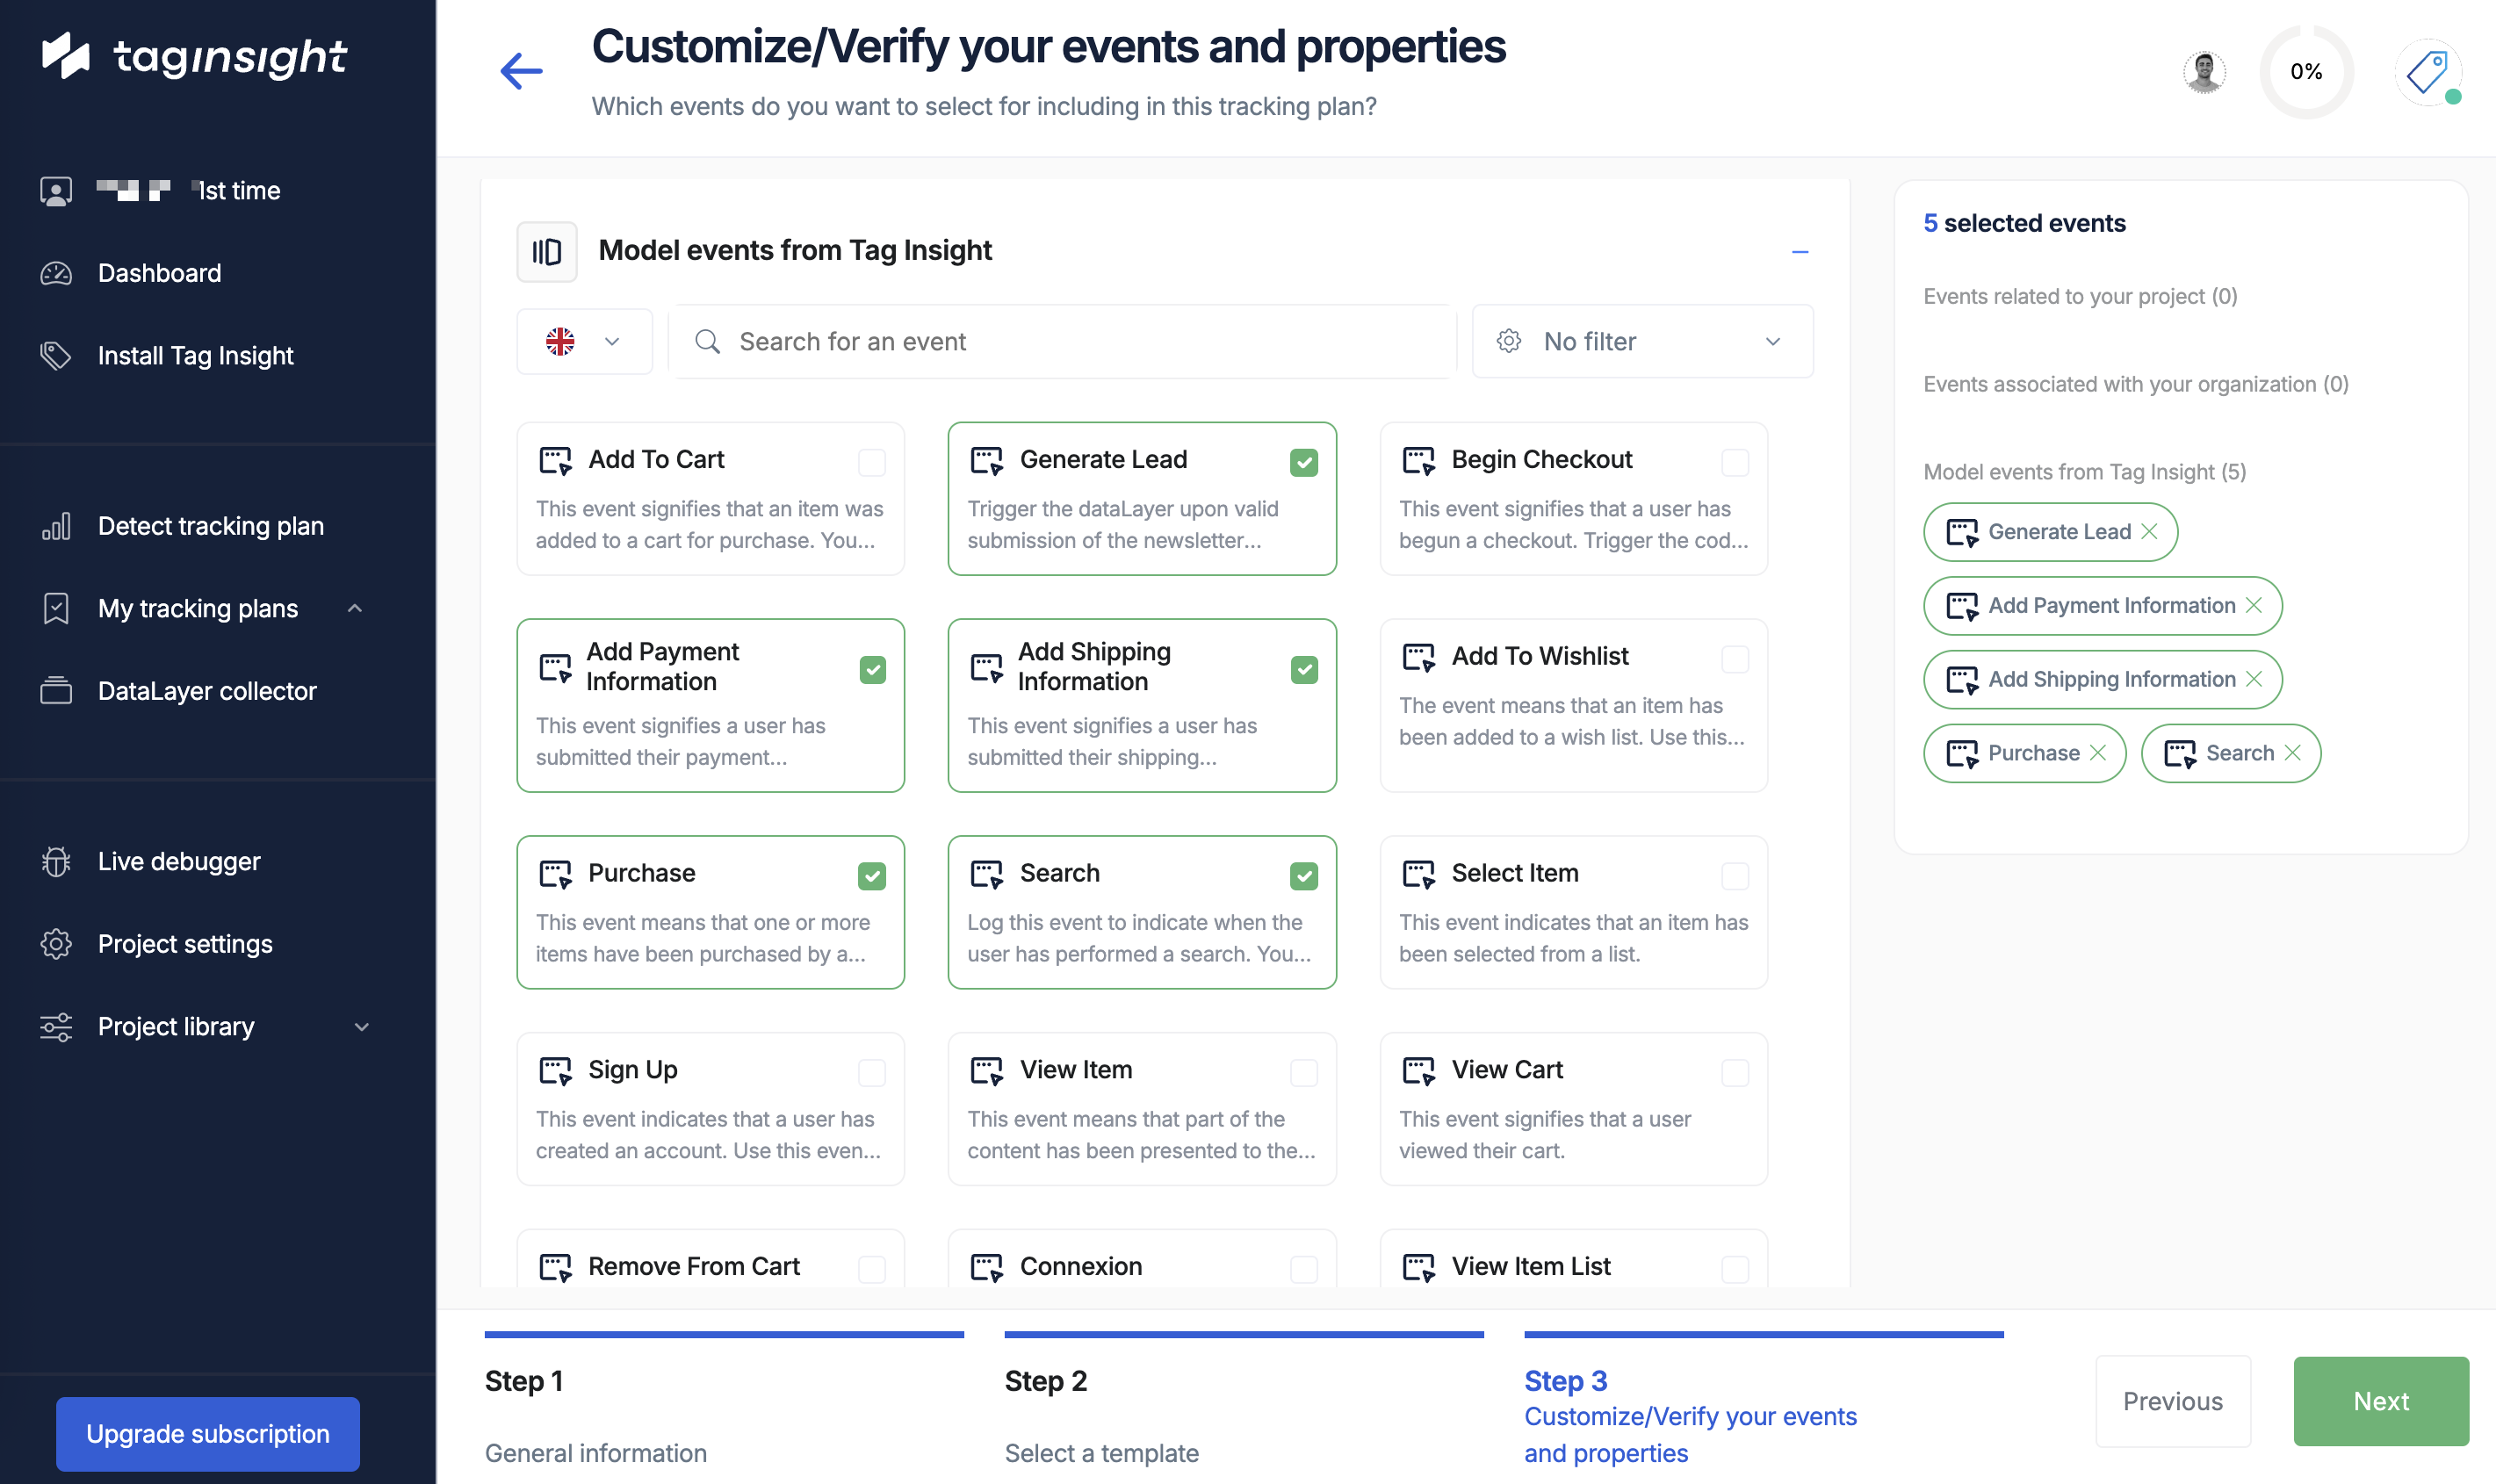 ### Event structure
Each event contains:
* **Event Name**: The identifier (e.g., `page_view`, `add_to_cart`)
* **Description**: What this event represents
* **Variables**: The data points captured with this event
* **Trigger Conditions**: When this event should fire
### Common event types
```javascript theme={null}
{
event: 'page_view',
page_title: 'Product Detail Page',
page_category: 'products',
page_path: '/products/blue-shirt'
}
```
```javascript theme={null}
{
event: 'add_to_cart',
ecommerce: {
items: [{
item_id: 'SKU123',
item_name: 'Blue Shirt',
price: 29.99,
quantity: 1
}]
}
}
```
```javascript theme={null}
{
event: 'form_submit',
form_name: 'newsletter_signup',
form_position: 'footer',
user_email: 'user@example.com'
}
```
## Adding events to your tracking plan
### Method 1: Manual creation
In your tracking plan, click **+ Add Event**
* **Event Name**: Use snake\_case (e.g., `product_view`)
* **Event Label**: Human-readable name
* **Description**: Detailed explanation of when this fires
* **Category**: Group related events together
For each variable in the event:
* Click **+ Add Variable**
* Set variable name, type, and validation rules
Review and save your event configuration
### Method 2: Using templates
Tag Insight provides pre-built templates for common implementations:
Standard GA4 e-commerce and engagement events
Complete e-commerce tracking setup
Content engagement and reading time events
User lifecycle and feature usage events
To use a template:
1. Select **Templates** when creating a tracking plan
2. Choose your template
3. Customize events and variables as needed
4. Save your tracking plan
### Method 3: AI-powered import
Use the Detect Tracking Plan feature to automatically discover existing events:
This method requires the Tag Insight pixel to be installed on your site.
Ensure the Tag Insight pixel is active on your site
Click **Detect Tracking Plan** and set duration
Navigate through your site to trigger events
Review detected events and import selected ones
## Configuring variables
Variables are the individual data points within each event.
### Variable properties
For each variable, configure:
* **Name**: The variable key (e.g., `product_id`)
* **Display Name**: Human-readable label
* **Description**: What this variable represents
* **Data Type**: String, Number, Boolean, Object, or Array
* **Required/Optional**: Whether the variable must be present
* **Format**: Regex patterns for validation
* **Allowed Values**: Specific values or ranges
* **Default Value**: What to use if not provided
* **Anonymize**: Mask sensitive data
* **Transform**: Apply transformations before validation
* **Custom Validation**: JavaScript validation functions
### Variable types and validation
```javascript theme={null}
{
name: "product_category",
type: "string",
required: true,
pattern: "^[a-z_]+$",
maxLength: 50,
allowedValues: ["electronics", "clothing", "home", "sports"]
}
```
```javascript theme={null}
{
name: "price",
type: "number",
required: true,
min: 0,
max: 10000,
decimalPlaces: 2
}
```
```javascript theme={null}
{
name: "is_logged_in",
type: "boolean",
required: true,
default: false
}
```
```javascript theme={null}
{
name: "user",
type: "object",
required: false,
properties: {
id: { type: "string", required: true },
type: { type: "string", enum: ["guest", "member", "premium"] }
}
}
```
## Organization features
### Event library
Build a reusable library of events:
Define common events at the organization level
Establish naming conventions and required variables
Use library events across multiple projects
Updates to library events can cascade to projects
### Version control
Tag Insight automatically versions your tracking plans:
* **Auto-save**: Changes are saved automatically
* **Version History**: View and restore previous versions
* **Change Tracking**: See who made what changes when
* **Comparison**: Compare versions side-by-side
## Best practices
### Naming conventions
* Use snake\_case: `product_view`, not `ProductView`
* Be descriptive: `checkout_step_completed`, not `step`
* Include context: `video_play_started`, not just `play`
* Consistent prefixes: `page_`, `user_`, `product_`
* Clear purpose: `total_price_usd`, not `amount`
* Avoid abbreviations: `quantity`, not `qty`
### Documentation
Always document:
* **When**: Exact conditions that trigger the event
* **Where**: Which pages or features fire the event
* **Why**: Business purpose of tracking this data
* **Examples**: Sample data layer outputs
### Progressive enhancement
Begin with critical business events only
Ensure basic tracking works perfectly
Add more detailed tracking over time
Audit and clean up unused events quarterly
## Importing existing plans
### From Excel/CSV
Get our Excel template from the import dialog
Add your events and variables following the format
Drag and drop or browse to select your file
Match your columns to Tag Insight fields
Preview the import and confirm
### From other tools
Tag Insight supports importing from:
* Google Sheets
* Segment Protocols
* Adobe Data Layer Manager
* Custom JSON formats
Contact support for help migrating from other tracking plan tools.
## Validation and testing
### Pre-implementation validation
Before implementing:
1. Review all events and variables
2. Check for naming consistency
3. Verify validation rules make sense
4. Test with sample data
### Post-implementation testing
After implementation:
1. Use the Chrome extension to capture real data
2. Compare against your tracking plan
3. Run test audits
4. Adjust validation rules as needed
## Common patterns
### E-commerce tracking plan
```javascript theme={null}
// Product Interactions
- product_viewed
- product_added_to_cart
- product_removed_from_cart
// Checkout Process
- checkout_started
- checkout_step_completed
- payment_info_entered
// Purchase
- purchase_completed
- order_confirmed
// Post-Purchase
- product_reviewed
- product_returned
```
### Content site tracking plan
```javascript theme={null}
// Content Engagement
- article_viewed
- article_read_progress
- article_shared
- comment_posted
// Navigation
- search_performed
- category_browsed
- tag_clicked
// User Actions
- newsletter_subscribed
- account_created
- preference_updated
```
## Next steps
Learn about automated import options
Deep dive into variable setup and validation
Start monitoring your tracking plan
Learn tracking plan design best practices
### Event structure
Each event contains:
* **Event Name**: The identifier (e.g., `page_view`, `add_to_cart`)
* **Description**: What this event represents
* **Variables**: The data points captured with this event
* **Trigger Conditions**: When this event should fire
### Common event types
```javascript theme={null}
{
event: 'page_view',
page_title: 'Product Detail Page',
page_category: 'products',
page_path: '/products/blue-shirt'
}
```
```javascript theme={null}
{
event: 'add_to_cart',
ecommerce: {
items: [{
item_id: 'SKU123',
item_name: 'Blue Shirt',
price: 29.99,
quantity: 1
}]
}
}
```
```javascript theme={null}
{
event: 'form_submit',
form_name: 'newsletter_signup',
form_position: 'footer',
user_email: 'user@example.com'
}
```
## Adding events to your tracking plan
### Method 1: Manual creation
In your tracking plan, click **+ Add Event**
* **Event Name**: Use snake\_case (e.g., `product_view`)
* **Event Label**: Human-readable name
* **Description**: Detailed explanation of when this fires
* **Category**: Group related events together
For each variable in the event:
* Click **+ Add Variable**
* Set variable name, type, and validation rules
Review and save your event configuration
### Method 2: Using templates
Tag Insight provides pre-built templates for common implementations:
Standard GA4 e-commerce and engagement events
Complete e-commerce tracking setup
Content engagement and reading time events
User lifecycle and feature usage events
To use a template:
1. Select **Templates** when creating a tracking plan
2. Choose your template
3. Customize events and variables as needed
4. Save your tracking plan
### Method 3: AI-powered import
Use the Detect Tracking Plan feature to automatically discover existing events:
This method requires the Tag Insight pixel to be installed on your site.
Ensure the Tag Insight pixel is active on your site
Click **Detect Tracking Plan** and set duration
Navigate through your site to trigger events
Review detected events and import selected ones
## Configuring variables
Variables are the individual data points within each event.
### Variable properties
For each variable, configure:
* **Name**: The variable key (e.g., `product_id`)
* **Display Name**: Human-readable label
* **Description**: What this variable represents
* **Data Type**: String, Number, Boolean, Object, or Array
* **Required/Optional**: Whether the variable must be present
* **Format**: Regex patterns for validation
* **Allowed Values**: Specific values or ranges
* **Default Value**: What to use if not provided
* **Anonymize**: Mask sensitive data
* **Transform**: Apply transformations before validation
* **Custom Validation**: JavaScript validation functions
### Variable types and validation
```javascript theme={null}
{
name: "product_category",
type: "string",
required: true,
pattern: "^[a-z_]+$",
maxLength: 50,
allowedValues: ["electronics", "clothing", "home", "sports"]
}
```
```javascript theme={null}
{
name: "price",
type: "number",
required: true,
min: 0,
max: 10000,
decimalPlaces: 2
}
```
```javascript theme={null}
{
name: "is_logged_in",
type: "boolean",
required: true,
default: false
}
```
```javascript theme={null}
{
name: "user",
type: "object",
required: false,
properties: {
id: { type: "string", required: true },
type: { type: "string", enum: ["guest", "member", "premium"] }
}
}
```
## Organization features
### Event library
Build a reusable library of events:
Define common events at the organization level
Establish naming conventions and required variables
Use library events across multiple projects
Updates to library events can cascade to projects
### Version control
Tag Insight automatically versions your tracking plans:
* **Auto-save**: Changes are saved automatically
* **Version History**: View and restore previous versions
* **Change Tracking**: See who made what changes when
* **Comparison**: Compare versions side-by-side
## Best practices
### Naming conventions
* Use snake\_case: `product_view`, not `ProductView`
* Be descriptive: `checkout_step_completed`, not `step`
* Include context: `video_play_started`, not just `play`
* Consistent prefixes: `page_`, `user_`, `product_`
* Clear purpose: `total_price_usd`, not `amount`
* Avoid abbreviations: `quantity`, not `qty`
### Documentation
Always document:
* **When**: Exact conditions that trigger the event
* **Where**: Which pages or features fire the event
* **Why**: Business purpose of tracking this data
* **Examples**: Sample data layer outputs
### Progressive enhancement
Begin with critical business events only
Ensure basic tracking works perfectly
Add more detailed tracking over time
Audit and clean up unused events quarterly
## Importing existing plans
### From Excel/CSV
Get our Excel template from the import dialog
Add your events and variables following the format
Drag and drop or browse to select your file
Match your columns to Tag Insight fields
Preview the import and confirm
### From other tools
Tag Insight supports importing from:
* Google Sheets
* Segment Protocols
* Adobe Data Layer Manager
* Custom JSON formats
Contact support for help migrating from other tracking plan tools.
## Validation and testing
### Pre-implementation validation
Before implementing:
1. Review all events and variables
2. Check for naming consistency
3. Verify validation rules make sense
4. Test with sample data
### Post-implementation testing
After implementation:
1. Use the Chrome extension to capture real data
2. Compare against your tracking plan
3. Run test audits
4. Adjust validation rules as needed
## Common patterns
### E-commerce tracking plan
```javascript theme={null}
// Product Interactions
- product_viewed
- product_added_to_cart
- product_removed_from_cart
// Checkout Process
- checkout_started
- checkout_step_completed
- payment_info_entered
// Purchase
- purchase_completed
- order_confirmed
// Post-Purchase
- product_reviewed
- product_returned
```
### Content site tracking plan
```javascript theme={null}
// Content Engagement
- article_viewed
- article_read_progress
- article_shared
- comment_posted
// Navigation
- search_performed
- category_browsed
- tag_clicked
// User Actions
- newsletter_subscribed
- account_created
- preference_updated
```
## Next steps
Learn about automated import options
Deep dive into variable setup and validation
Start monitoring your tracking plan
Learn tracking plan design best practices