> ## Documentation Index
> Fetch the complete documentation index at: https://docs.taginsight.com/llms.txt
> Use this file to discover all available pages before exploring further.
# Organizations & projects
> Learn how to structure your Tag Insight workspace with organizations and projects
## Overview
Tag Insight uses a hierarchical structure to help you organize and manage your tracking implementations efficiently. Understanding this structure is key to getting the most out of the platform.
## Hierarchy overview
```mermaid theme={null}
graph TD
A[Organization] --> B[Project 1]
A --> C[Project 2]
A --> D[Project 3]
B --> E[Tracking Plans]
B --> F[Audits]
B --> G[Users]
C --> H[Tracking Plans]
C --> I[Audits]
C --> J[Users]
```
## Organizations
An organization is the top-level container that represents your company or business unit.
 ### Key features
* **Centralized Management**: Manage all projects from one place
* **Shared Resources**: Event libraries and templates shared across projects
* **User Management**: Control access and permissions organization-wide
* **Billing**: Single billing account for all projects
### Creating an organization
When you first sign up for Tag Insight, you'll create your organization:
Complete the registration process
Choose a name that represents your company or team
Set timezone, default language, and other preferences
### Organization settings
Navigate to **Settings > Organization** to configure:
* **General Information**: Name, logo, description
* **Default Preferences**: Timezone, date format, language
* **Security Settings**: SSO, 2FA requirements
* **Billing Information**: Payment methods, invoicing
## Projects
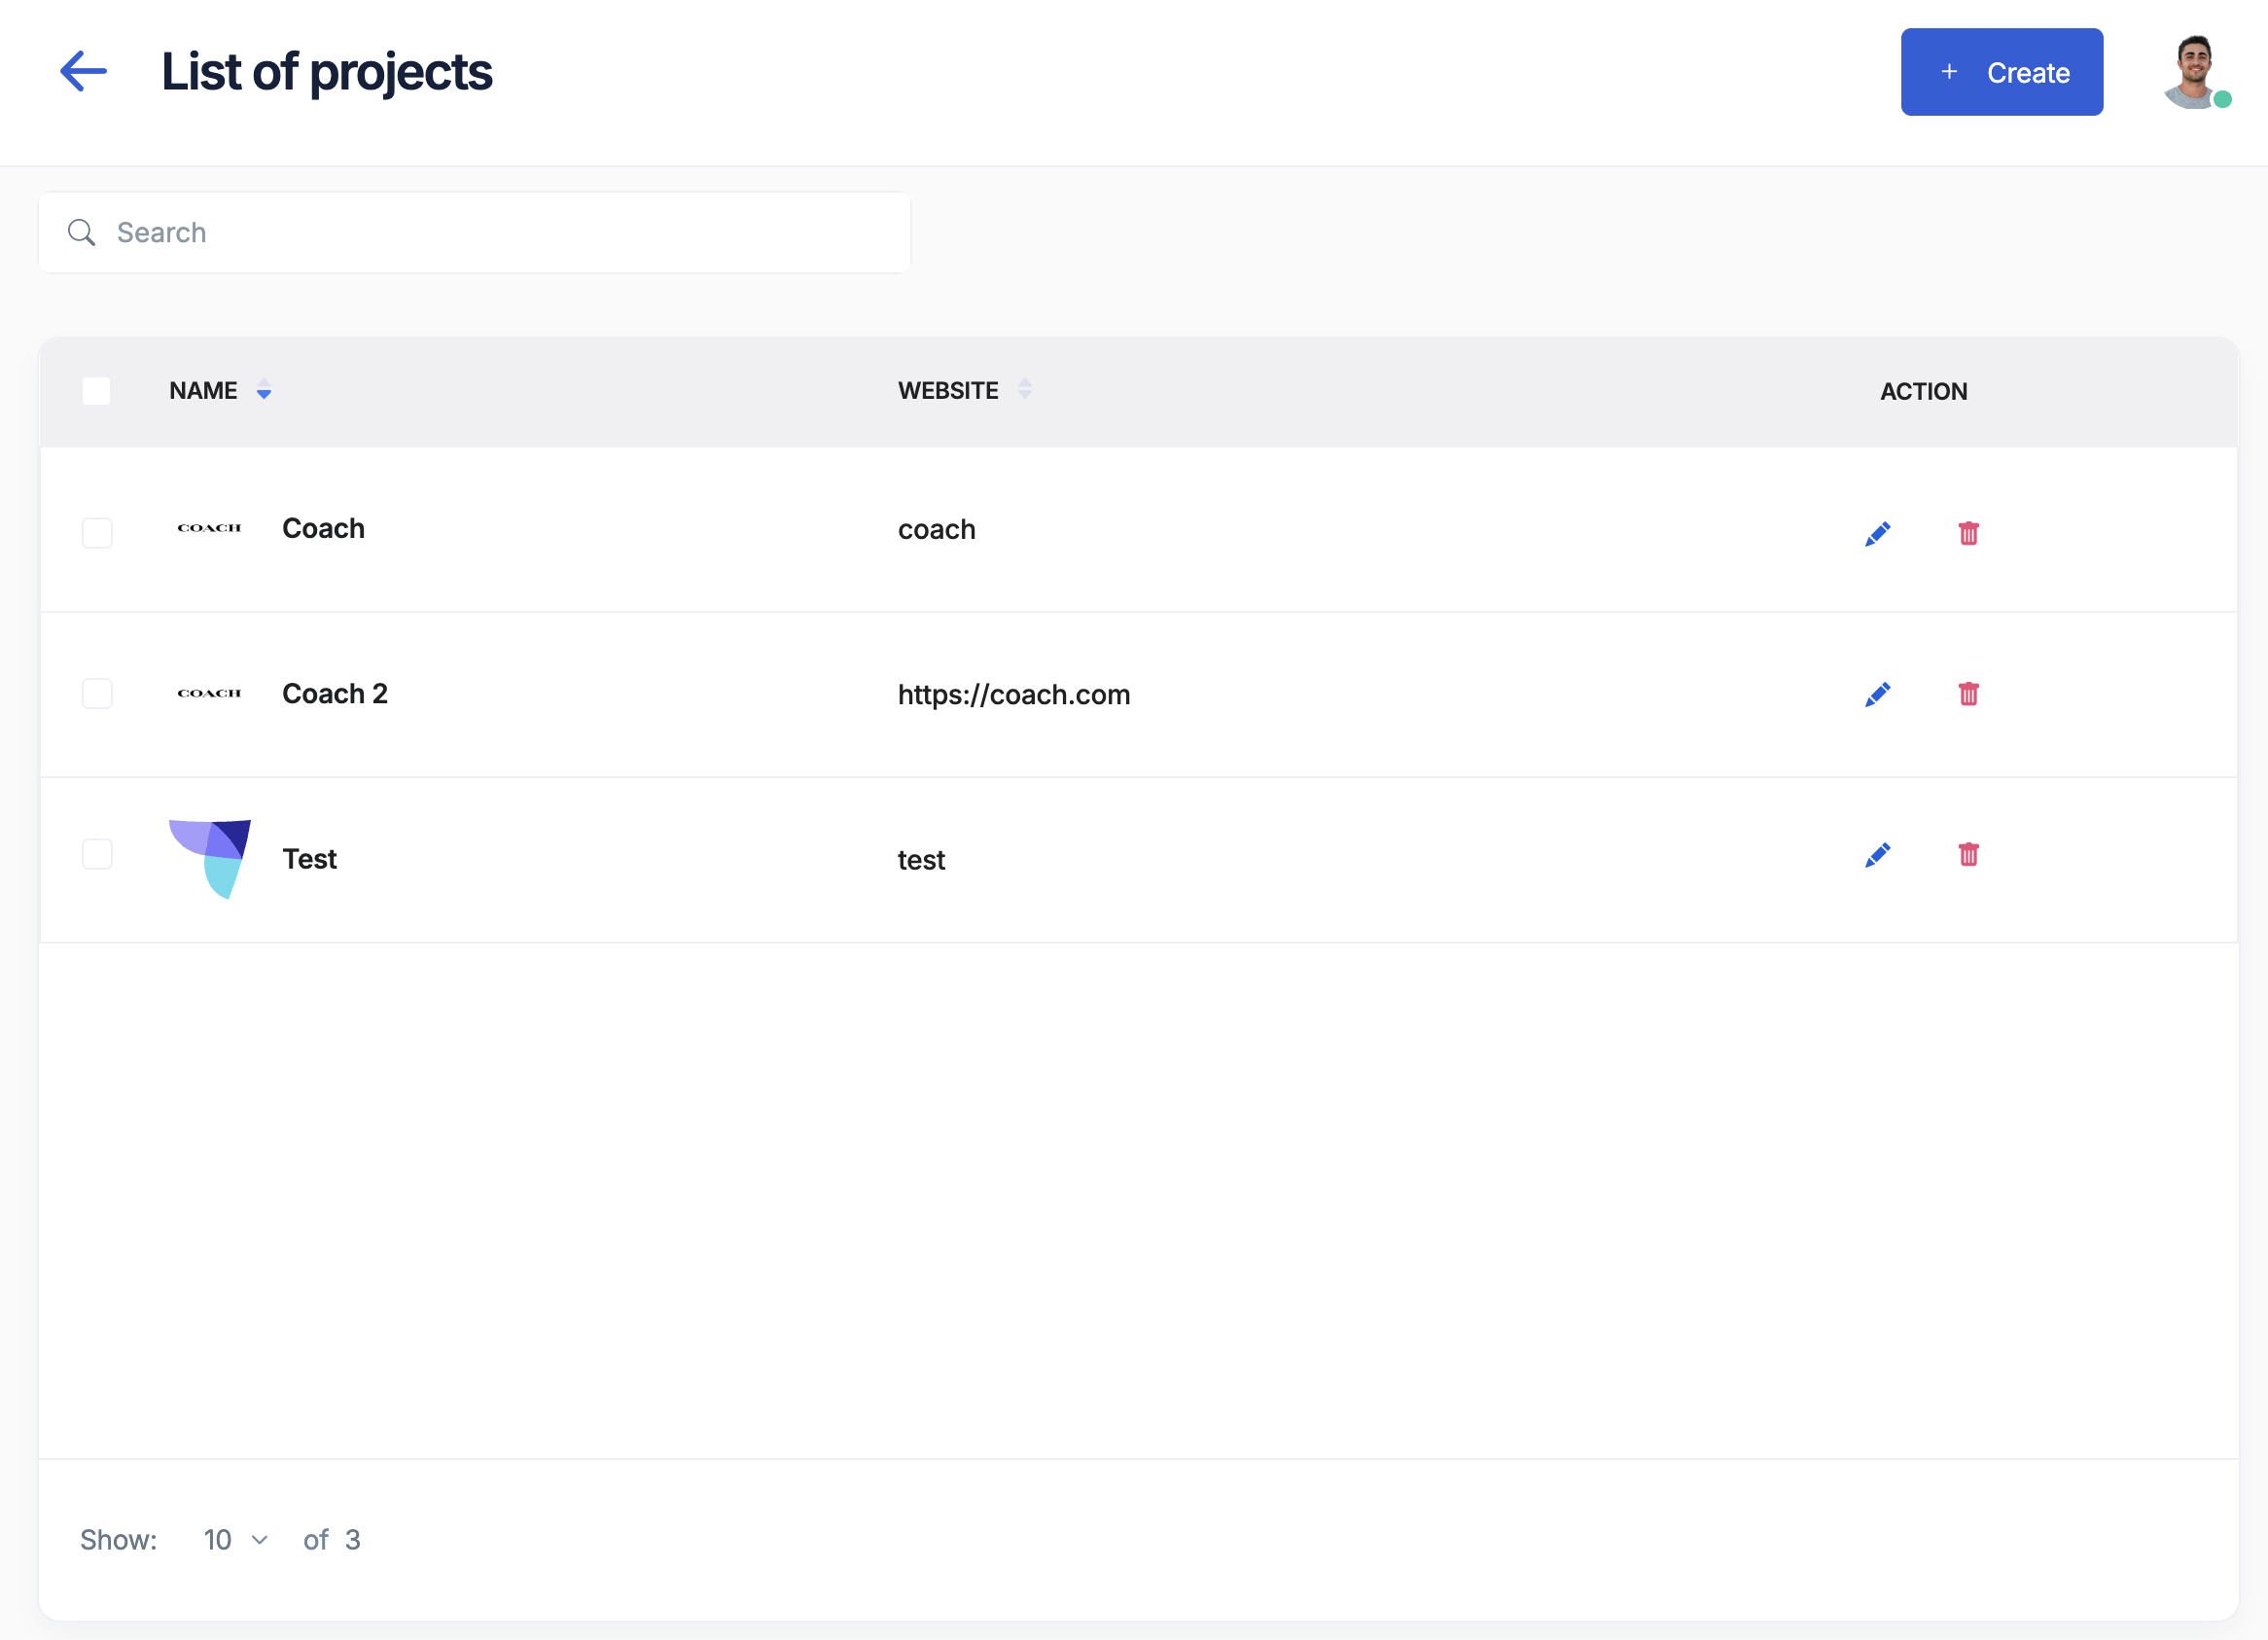
Projects represent individual tracking implementations. Each project corresponds to a specific website, application, or environment.
### When to create projects
Create separate projects for:
Each website or domain should have its own project
Separate projects for staging and production
Different brands even if on the same platform
Geographically separated properties with different tracking
### Creating a project
From your organization dashboard, click **New Project**
* **Project Name**: Descriptive name (e.g., "Main Site - Production")
* **Project ID**: Auto-generated unique identifier
* **Description**: Optional details about the project
Choose your TMS:
* Google Tag Manager
* Commander Act
* Tealium
* Custom
Upload a logo for better identification in reports
### Project components
Each project contains:
#### 1. Tracking plans
* Central repository of all events and variables
* Version control for tracking changes
* Import/export capabilities
#### 2. Monitoring & audits
* Automated audit configuration
* Real-time monitoring settings
* Alert rules and notifications
#### 3. Data layer collector
* Historical data layer logs
* Debug information
* Performance metrics
#### 4. Project settings
* Pixel configuration
* Environment variables
* Access controls
## Best practices
### Organization structure
For companies with one brand:
```
Organization: ACME Corp
├── Project: Website - Production
├── Project: Website - Staging
├── Project: Mobile App - Production
└── Project: Mobile App - Staging
```
For companies with multiple brands:
```
Organization: Parent Company
├── Project: Brand A - Production
├── Project: Brand A - Staging
├── Project: Brand B - Production
├── Project: Brand B - Staging
└── Project: Brand C - All Environments
```
For agencies managing multiple clients:
```
Organization: Agency Name
├── Project: Client A - Main Site
├── Project: Client A - Mobile
├── Project: Client B - E-commerce
└── Project: Client C - Corporate Site
```
### Naming conventions
Use clear, consistent naming:
* **Include Environment**: "Production", "Staging", "Development"
* **Include Property**: "Main Site", "Mobile App", "Blog"
* **Include Region**: "US", "EU", "APAC" if applicable
* **Be Descriptive**: Avoid abbreviations that might confuse team members
#### Good examples
* ✅ "E-commerce Site - Production - US"
* ✅ "Mobile App - Staging Environment"
* ✅ "Brand Website - Development"
#### Poor examples
* ❌ "Prod"
* ❌ "Test Site 2"
* ❌ "New Project"
## Managing multiple projects
### Project switching
Quickly switch between projects using:
* The project selector in the top navigation
* Keyboard shortcut: `Cmd/Ctrl + K`
* Direct URLs: `app.taginsight.com/projects/[project-id]`
### Cross-project features
#### Shared event library
Events defined at the organization level can be reused across projects:
Define common events in **Organization > Event Library**
Import organization events when creating project tracking plans
Updates to organization events can cascade to projects
#### Global reports
View data across multiple projects:
* Organization dashboard shows all project statuses
* Consolidated audit reports
* Cross-project tracking quality metrics
## Access control
### Organization level
* **Owner**: Full access to all settings and projects
* **Admin**: Manage projects and users
* **Billing**: Access to billing and invoices only
### Project level
* **Editor**: Full access to project configuration
* **Viewer**: Read-only access to reports and data
* **Auditor**: Can run audits but not change settings
Users can have different roles in different projects while maintaining their organization-level permissions.
## Common scenarios
### Scenario 1: E-commerce platform
```
Organization: ACME E-commerce
├── Project: Main Store - Production
├── Project: Main Store - Staging
├── Project: Mobile App - iOS
├── Project: Mobile App - Android
└── Project: Admin Portal
```
### Scenario 2: Media company
```
Organization: Media Corp
├── Project: News Site - Production
├── Project: News Site - Development
├── Project: Video Platform
├── Project: Podcast App
└── Project: Newsletter System
```
### Scenario 3: SaaS platform
```
Organization: SaaS Company
├── Project: Marketing Site
├── Project: Application - Free Tier
├── Project: Application - Premium
└── Project: Documentation Site
```
## Migration guide
Moving from another platform? Here's how to structure your Tag Insight setup:
List all properties, environments, and tracking implementations
Map each implementation to a Tag Insight project
Set up your organization with proper settings
Create projects following naming conventions
Use import tools to migrate existing tracking plans
## Next steps
Learn how to add team members and manage permissions
Start building your tracking plans
### Key features
* **Centralized Management**: Manage all projects from one place
* **Shared Resources**: Event libraries and templates shared across projects
* **User Management**: Control access and permissions organization-wide
* **Billing**: Single billing account for all projects
### Creating an organization
When you first sign up for Tag Insight, you'll create your organization:
Complete the registration process
Choose a name that represents your company or team
Set timezone, default language, and other preferences
### Organization settings
Navigate to **Settings > Organization** to configure:
* **General Information**: Name, logo, description
* **Default Preferences**: Timezone, date format, language
* **Security Settings**: SSO, 2FA requirements
* **Billing Information**: Payment methods, invoicing
## Projects
Projects represent individual tracking implementations. Each project corresponds to a specific website, application, or environment.
### When to create projects
Create separate projects for:
Each website or domain should have its own project
Separate projects for staging and production
Different brands even if on the same platform
Geographically separated properties with different tracking
### Creating a project
From your organization dashboard, click **New Project**
* **Project Name**: Descriptive name (e.g., "Main Site - Production")
* **Project ID**: Auto-generated unique identifier
* **Description**: Optional details about the project
Choose your TMS:
* Google Tag Manager
* Commander Act
* Tealium
* Custom
Upload a logo for better identification in reports
### Project components
Each project contains:
#### 1. Tracking plans
* Central repository of all events and variables
* Version control for tracking changes
* Import/export capabilities
#### 2. Monitoring & audits
* Automated audit configuration
* Real-time monitoring settings
* Alert rules and notifications
#### 3. Data layer collector
* Historical data layer logs
* Debug information
* Performance metrics
#### 4. Project settings
* Pixel configuration
* Environment variables
* Access controls
## Best practices
### Organization structure
For companies with one brand:
```
Organization: ACME Corp
├── Project: Website - Production
├── Project: Website - Staging
├── Project: Mobile App - Production
└── Project: Mobile App - Staging
```
For companies with multiple brands:
```
Organization: Parent Company
├── Project: Brand A - Production
├── Project: Brand A - Staging
├── Project: Brand B - Production
├── Project: Brand B - Staging
└── Project: Brand C - All Environments
```
For agencies managing multiple clients:
```
Organization: Agency Name
├── Project: Client A - Main Site
├── Project: Client A - Mobile
├── Project: Client B - E-commerce
└── Project: Client C - Corporate Site
```
### Naming conventions
Use clear, consistent naming:
* **Include Environment**: "Production", "Staging", "Development"
* **Include Property**: "Main Site", "Mobile App", "Blog"
* **Include Region**: "US", "EU", "APAC" if applicable
* **Be Descriptive**: Avoid abbreviations that might confuse team members
#### Good examples
* ✅ "E-commerce Site - Production - US"
* ✅ "Mobile App - Staging Environment"
* ✅ "Brand Website - Development"
#### Poor examples
* ❌ "Prod"
* ❌ "Test Site 2"
* ❌ "New Project"
## Managing multiple projects
### Project switching
Quickly switch between projects using:
* The project selector in the top navigation
* Keyboard shortcut: `Cmd/Ctrl + K`
* Direct URLs: `app.taginsight.com/projects/[project-id]`
### Cross-project features
#### Shared event library
Events defined at the organization level can be reused across projects:
Define common events in **Organization > Event Library**
Import organization events when creating project tracking plans
Updates to organization events can cascade to projects
#### Global reports
View data across multiple projects:
* Organization dashboard shows all project statuses
* Consolidated audit reports
* Cross-project tracking quality metrics
## Access control
### Organization level
* **Owner**: Full access to all settings and projects
* **Admin**: Manage projects and users
* **Billing**: Access to billing and invoices only
### Project level
* **Editor**: Full access to project configuration
* **Viewer**: Read-only access to reports and data
* **Auditor**: Can run audits but not change settings
Users can have different roles in different projects while maintaining their organization-level permissions.
## Common scenarios
### Scenario 1: E-commerce platform
```
Organization: ACME E-commerce
├── Project: Main Store - Production
├── Project: Main Store - Staging
├── Project: Mobile App - iOS
├── Project: Mobile App - Android
└── Project: Admin Portal
```
### Scenario 2: Media company
```
Organization: Media Corp
├── Project: News Site - Production
├── Project: News Site - Development
├── Project: Video Platform
├── Project: Podcast App
└── Project: Newsletter System
```
### Scenario 3: SaaS platform
```
Organization: SaaS Company
├── Project: Marketing Site
├── Project: Application - Free Tier
├── Project: Application - Premium
└── Project: Documentation Site
```
## Migration guide
Moving from another platform? Here's how to structure your Tag Insight setup:
List all properties, environments, and tracking implementations
Map each implementation to a Tag Insight project
Set up your organization with proper settings
Create projects following naming conventions
Use import tools to migrate existing tracking plans
## Next steps
Learn how to add team members and manage permissions
Start building your tracking plans