> ## Documentation Index
> Fetch the complete documentation index at: https://docs.taginsight.com/llms.txt
> Use this file to discover all available pages before exploring further.
# Installation guide
> How to install Tag Insight on your website
## Overview
Installing Tag Insight takes about 5 minutes. You'll need help from your web developer or tag management team to complete the installation.
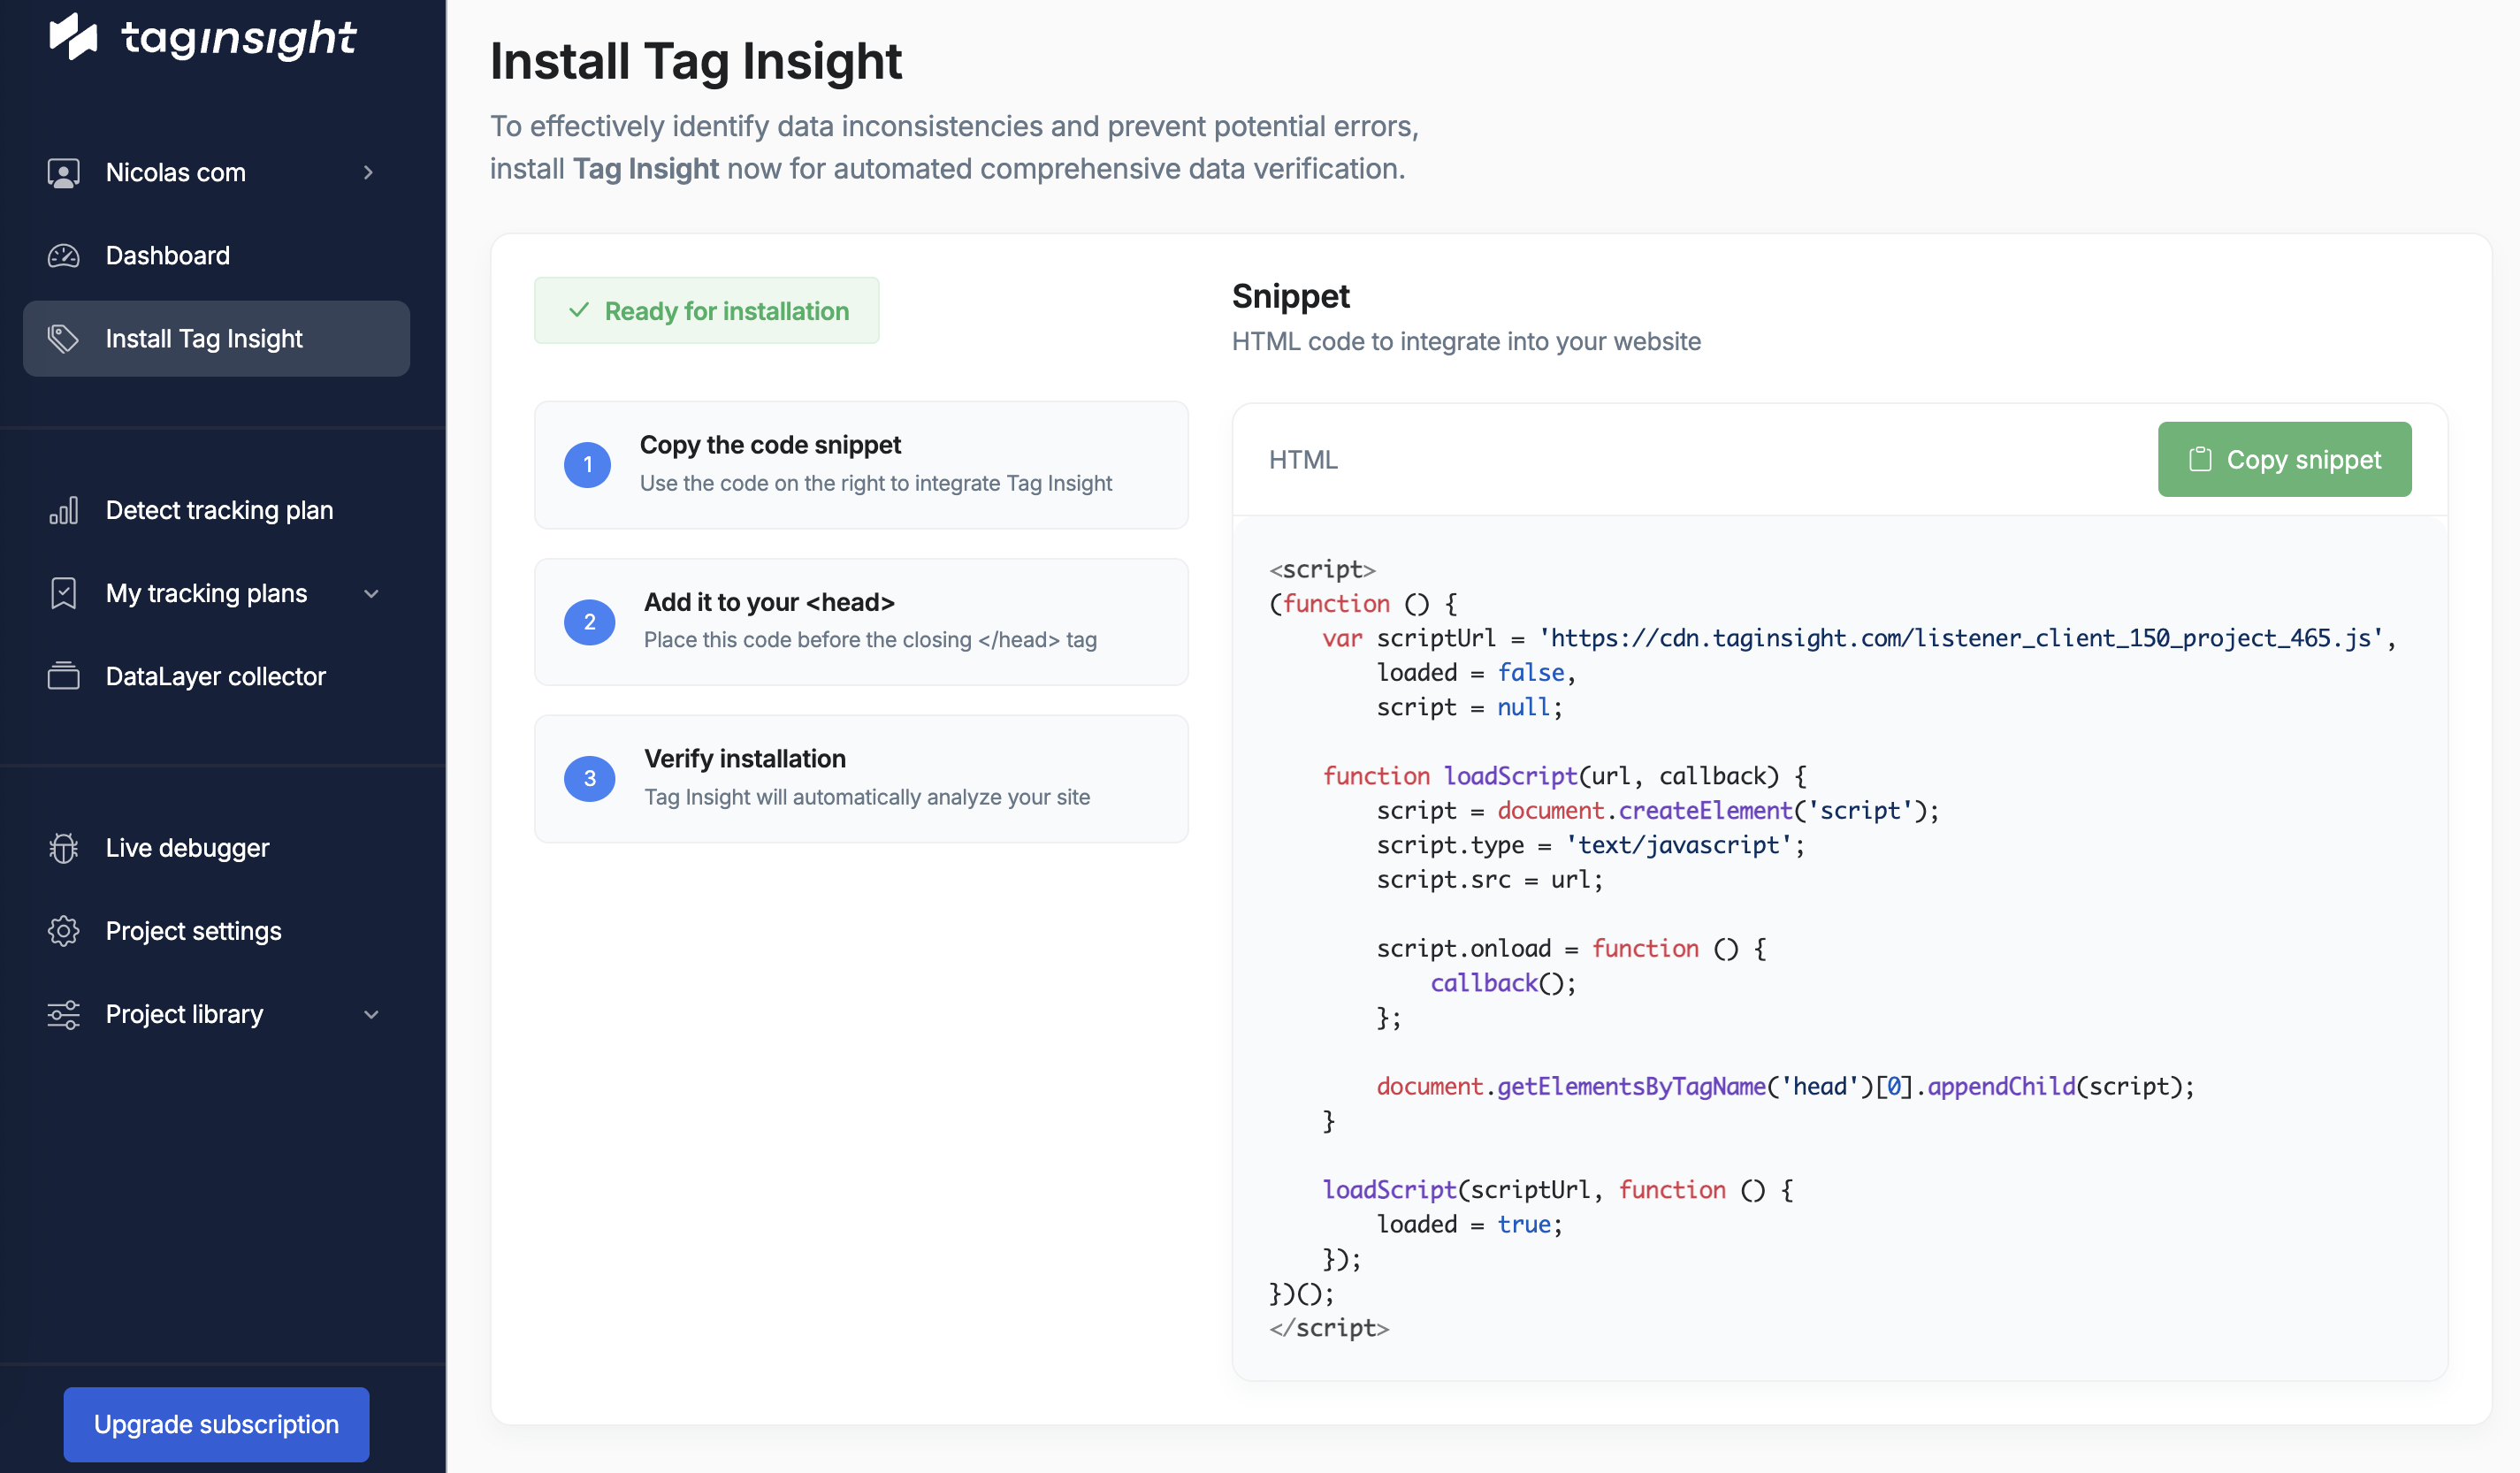 ## What you'll need
Before starting, make sure you have:
* Your Tag Insight Project ID (found in your dashboard under **Project Settings**)
* Access to your tag management system (Google Tag Manager, Commander Act, etc.)
* Someone from your technical team to help with the installation
Not sure about your tag management system? Ask your web developer or IT team - they'll know!
## Installation steps
### For Google Tag Manager users
Share these instructions with your developer:
Ask your developer to log into your GTM account and open the correct container
They'll create a new tag called "Tag Insight - Monitoring" and add the Tag Insight code
The tag should trigger on every page of your website
Your developer will test it's working correctly, then publish the changes
### For Commander Act users
Share these instructions with your developer:
Your developer needs to log into Commander Act and open your container
They'll add Tag Insight as a new tag in the system
The tag should be active on every page
Your developer will deploy the updated container
### For other websites
If you don't use a tag management system, your developer will add the Tag Insight code directly to your website.
## Verifying installation
Once your developer has installed Tag Insight:
Log into Tag Insight and open your project
Navigate to **Live Debugger** in the menu
Open your website in a new tab and browse a few pages
You should see events appearing in the Live Debugger within a few seconds
If you don't see any data after 5 minutes, contact our support team at [support@taginsight.com](mailto:support@taginsight.com)
## Multiple environments
If you have different versions of your website (like staging and production), you'll need:
* A separate Tag Insight project for each environment
* Your developer to install the appropriate Project ID on each version
## Common questions
No, but you'll need help from your web developer or tag management team. Share this guide with them.
Typically 5-10 minutes for someone familiar with your tag management system.
No, Tag Insight is designed to have minimal impact on your website's performance.
Yes, but you'll need a separate project for each website or major section of your business.
## Next steps
After installation is complete:
Upload your existing tracking documentation
Configure automatic checks for your tracking
Get our browser extension for easy debugging
Set up email notifications for tracking issues
Remember: Each environment (staging, production) needs its own Tag Insight project with a unique Project ID.
## What you'll need
Before starting, make sure you have:
* Your Tag Insight Project ID (found in your dashboard under **Project Settings**)
* Access to your tag management system (Google Tag Manager, Commander Act, etc.)
* Someone from your technical team to help with the installation
Not sure about your tag management system? Ask your web developer or IT team - they'll know!
## Installation steps
### For Google Tag Manager users
Share these instructions with your developer:
Ask your developer to log into your GTM account and open the correct container
They'll create a new tag called "Tag Insight - Monitoring" and add the Tag Insight code
The tag should trigger on every page of your website
Your developer will test it's working correctly, then publish the changes
### For Commander Act users
Share these instructions with your developer:
Your developer needs to log into Commander Act and open your container
They'll add Tag Insight as a new tag in the system
The tag should be active on every page
Your developer will deploy the updated container
### For other websites
If you don't use a tag management system, your developer will add the Tag Insight code directly to your website.
## Verifying installation
Once your developer has installed Tag Insight:
Log into Tag Insight and open your project
Navigate to **Live Debugger** in the menu
Open your website in a new tab and browse a few pages
You should see events appearing in the Live Debugger within a few seconds
If you don't see any data after 5 minutes, contact our support team at [support@taginsight.com](mailto:support@taginsight.com)
## Multiple environments
If you have different versions of your website (like staging and production), you'll need:
* A separate Tag Insight project for each environment
* Your developer to install the appropriate Project ID on each version
## Common questions
No, but you'll need help from your web developer or tag management team. Share this guide with them.
Typically 5-10 minutes for someone familiar with your tag management system.
No, Tag Insight is designed to have minimal impact on your website's performance.
Yes, but you'll need a separate project for each website or major section of your business.
## Next steps
After installation is complete:
Upload your existing tracking documentation
Configure automatic checks for your tracking
Get our browser extension for easy debugging
Set up email notifications for tracking issues
Remember: Each environment (staging, production) needs its own Tag Insight project with a unique Project ID.